
How to Roll Back a Bad Salesforce Deployment
How to Roll Back a Bad Salesforce Deployment
A Salesforce deployment can report 100% success and still bring operations to a halt.
Maybe a new Flow behaves unexpectedly against production data volume. A validation rule inadvertently blocks sales reps from closing opportunities. An Apex Trigger hits an unhandled governor limit. Or a profile permission change locks users out of critical objects.
When production breaks, the first instinct is simple:
“How do we roll this back immediately?”
The answer depends on whether the deployment failed in-flight or completed successfully and caused problems afterward. Understanding this distinction is essential before making any sudden changes in production.
What "Rollback" Actually Means in Salesforce
In Salesforce, there is no universal "Undo" button.
1. In-Flight Rollbacks (Platform Level)
If a deployment fails while running (due to an Apex test failure, missing dependency, or component error), Salesforce handles the rollback automatically. Deployments via the Metadata API, Salesforce CLI, or Change Sets operate as a single transaction: if one component fails, the entire transaction rolls back.
2. Post-Deployment Remediation (Operational Level)
Once the deployment status reports Succeeded, the changes are committed to the database. At this stage, reversing the deployment requires an active intervention:
Redeploying the previous metadata baseline.
Deploying destructive changes to delete newly introduced metadata.
Deploying a targeted hotfix to neutralize the offending component.
Important: Reverting metadata does not revert data. If a bad automation created corrupted records, fired 500 incorrect emails, or stamped inaccurate field values while active, that data must be audited and cleaned separately.
When to Roll Back vs. When to Hotfix
Not every issue justifies pulling back an entire release. Rushing an emergency rollback without an established plan can introduce secondary outages.
FactorFull RollbackTargeted Fix / HotfixBlast RadiusAffects core business operations across multiple departments.Isolated to an edge-case or single non-critical workflow.Root CauseUnclear, multi-component architectural conflict.Distinct, easily identified logic bug (e.g., an inverted formula).DependenciesThe broken component is tightly coupled to everything in the release.The offending component can be isolated or disabled cleanly.Deployment TimeRe-deploying the previous branch takes less time than debugging.A fix can be implemented, validated, and pushed within minutes.
The 6-Step Incident Response Workflow
When an issue is reported post-deployment, follow a disciplined triage sequence to stabilize the environment safely.
[Incident Reported]
        │
        ▼
1. Check Deployment Status (In-progress vs. Completed)
        │
        ▼
2. Stop the Bleeding (Deactivate or bypass the offending logic)
        │
        ▼
3. Isolate the Root Cause (Logs, Flow errors, debug records)
        │
        ▼
4. Choose Strategy (Full metadata revert vs. targeted hotfix)
        │
        ▼
5. Execute & Handle Destructive Changes (Remove newly added components)
        │
        ▼
6. Validate Business Operations & Audit Data
Step 1: Check Whether the Deployment Is Still Running
Before taking any corrective action, verify the deployment status under Setup > Deployment Status:
In Progress: Salesforce allows you to cancel an active deployment. Canceling safely completes the current atomic unit and rolls back all applied changes.
Failed: The platform has already rolled back the transaction. Review the error log.
Succeeded: The changes are committed. You must now implement a deliberate remediation plan.
Step 2: Stop the Bleeding (The Automation "Kill Switch")
Deploying a rollback package takes time—test suites must run, pull requests must be merged, and validation queues must clear.
If an automation is actively corrupting data or throwing hard errors for end-users, disable the offending component immediately:
Flows: Deactivate the active Flow version.
Validation Rules: Uncheck the Active checkbox.
Apex Triggers: Toggle an emergency bypass flag if your org uses a trigger framework, custom metadata switch, or feature toggle.
Disabling the problem element buys your engineering team the breathing room needed to assess the situation without compounding production damage.
Step 3: Identify What Actually Failed
Do not assume the newly deployed component is solely at fault. Production orgs feature layers of technical debt and interdependent automations.
Review:
Apex Exception Email alerts and developer debug logs.
Failed Flow Interviews under Setup to see unhandled fault paths.
Validation Rule logs to check whether a newly required field broke an existing background integration.
A new Flow might not be defective on its own—it may simply have exposed an existing recursion loop or governor limit issue on the target object.
Step 4: Retrieve the Previous Known-Good Baseline
To roll back a completed release, you need an exact snapshot of the pre-deployment state. This relies on your pre-deployment preparation:
Source Control (Git): Reverting the merge commit in Git and deploying the resulting release branch is the cleanest approach.
Metadata Backups / Pre-deployment Sandboxes: If source control is not fully integrated, deploying from a refreshed, untouched staging sandbox or a manual metadata backup can restore the previous baseline.
Step 5: Account for Destructive Changes
This is the most common mistake during Salesforce rollbacks:
Simply redeploying your previous metadata package will not delete newly created components.
If your deployment introduced a new Custom Field, Flow, or Apex Class, redeploying the old metadata will update modified files, but the new components will remain in production.
To completely undo a release that introduced new metadata, your rollback must include a destructive changes manifest (destructiveChanges.xml via SF CLI or your CI/CD platform) to purge the newly deployed components from the org.
Step 6: Validate and Verify the Post-Rollback State
Once the rollback or hotfix is deployed, do not assume the incident is resolved:
Verify State: Confirm that automations deactivated during the triage have been restored to their proper baseline.
End-to-End Test: Run a live test record through the affected business process.
Audit Data Integrity: Identify records created or edited during the outage window. Run report filters or SOQL queries to verify whether fields require mass cleanup or data patches.
How to Make Future Rollbacks Painless
A smooth rollback strategy is built before deployment day:
Validate Before Deploying: Use the Salesforce CLI (
sf project deploy validate) to run dry-run deployments with test execution prior to the release window.Use Modular Packages: Smaller, frequent release increments make identifying the breaking change significantly easier than monolithic quarterly deployments.
Implement Bypass Logic: Build an org-wide bypass architecture (via Custom Metadata or Hierarchical Custom Settings) so any Trigger, Flow, or Validation Rule can be toggled off instantly without requiring a metadata deployment.
Maintain Automated Backups: Ensure both metadata configurations and underlying business data are snapshotted before major production cutovers.
Fast-Tracking Incident Recovery with PausePlay
When an emergency rollback or hotfix deployment is underway, running automations can interfere with your recovery scripts, trigger validation errors, or cause race conditions.
PausePlay gives Salesforce teams instant control over their automation landscape:
Instant Circuit Breakers: Temporarily pause problematic Flows, Triggers, and Validation Rules during deployments or data remediation without hunting through nested Setup pages.
State Preservation: Capture baseline activation states before rolling out a corrective change.
Guaranteed Restoration: Automatically return every automation component to its exact intended state once the recovery deployment passes validation.
See how PausePlay streamlines Salesforce deployments →
Frequently Asked Questions
Does Salesforce have an automatic rollback button for completed deployments?
No. Automatic rollbacks only apply to deployments that fail while in progress. Once a deployment has succeeded, any rollback requires redeploying previous metadata versions, running destructive changes, or manually deactivating the components.
How do I delete metadata that was accidentally deployed to production?
To remove metadata from production via CI/CD or the command line, deploy a destructiveChanges.xml manifest alongside an empty package.xml using the Salesforce CLI. Alternatively, non-code components (like inactive Flows or Validation Rules) can be deleted directly via Salesforce Setup.
Will rolling back metadata fix data that was altered by a bad Flow?
No. Rolling back metadata only restores the logic of your org. Any records created, updated, or deleted by the misbehaving logic during the incident window must be identified and corrected using a data backup, mass-update tool, or corrective Apex script.
Would you like to adjust the technical framing (e.g., tailoring it specifically toward teams using CI/CD pipelines like GitHub Actions/Gearset vs. teams deploying via Change Sets and native tooling)?
Explore More
Related Posts
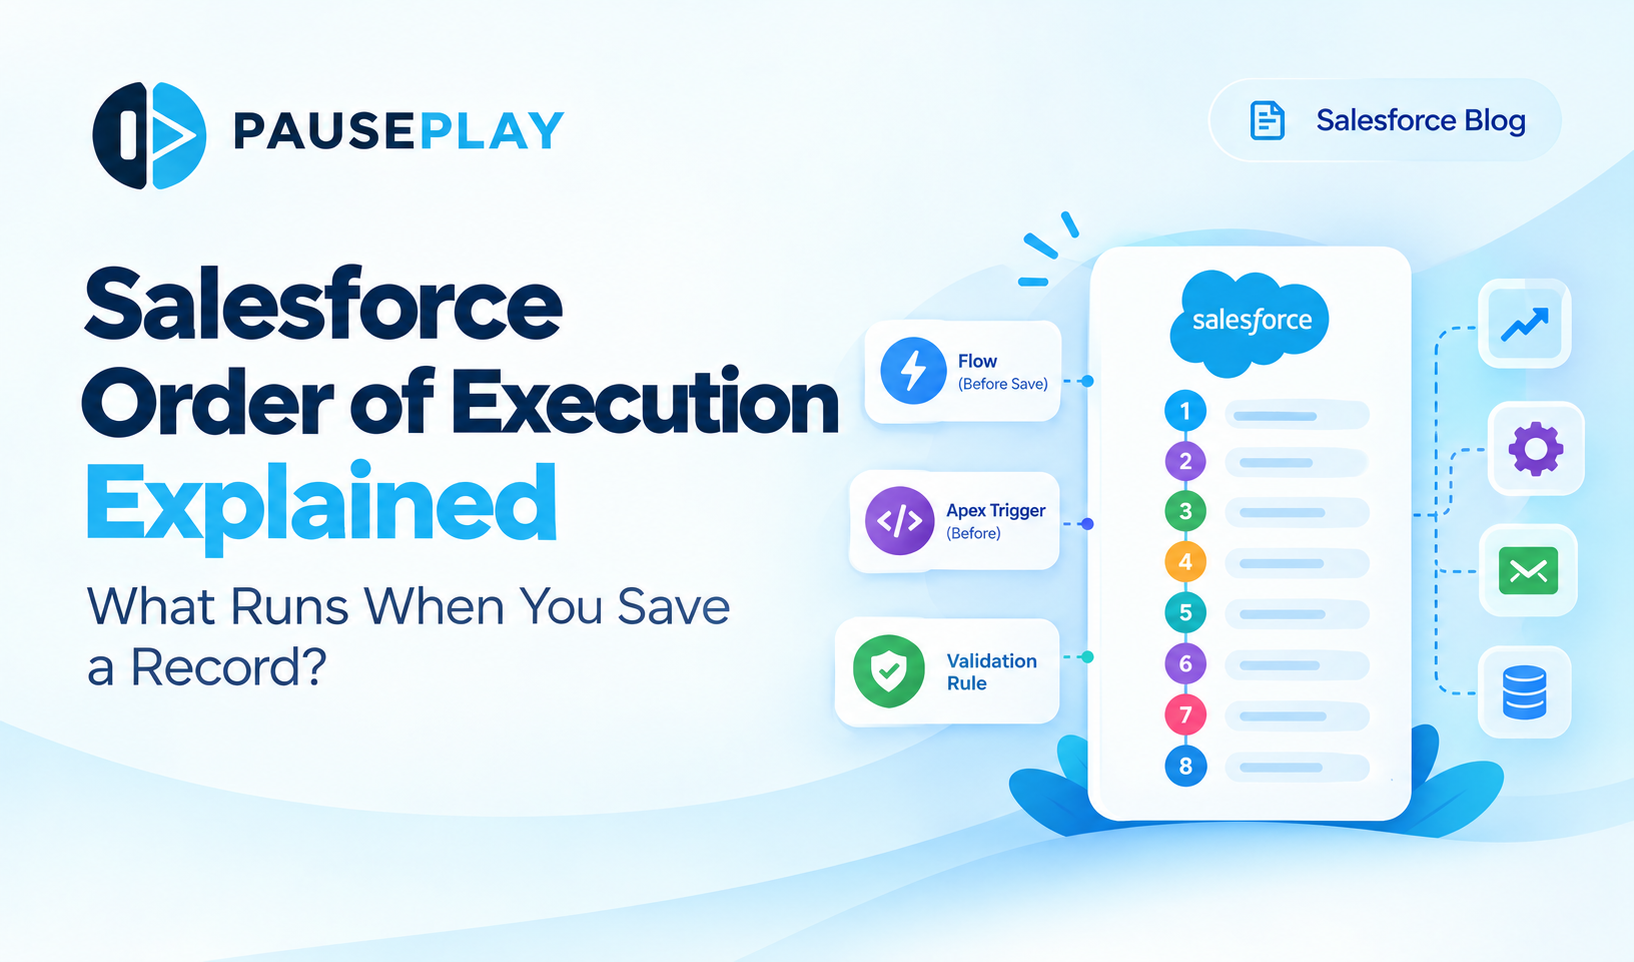
Salesforce Order of Execution Explained (2026)
Learn the Salesforce Order of Execution, how Flows and Apex Triggers interact, and how to troubleshoot automation issues during data changes.
I forgot to Turn it Back On: Salesforce Automation
Forgot to reactivate a Salesforce Flow, Trigger, or Validation Rule after a deployment? Learn how to track automation states and restore them safely.
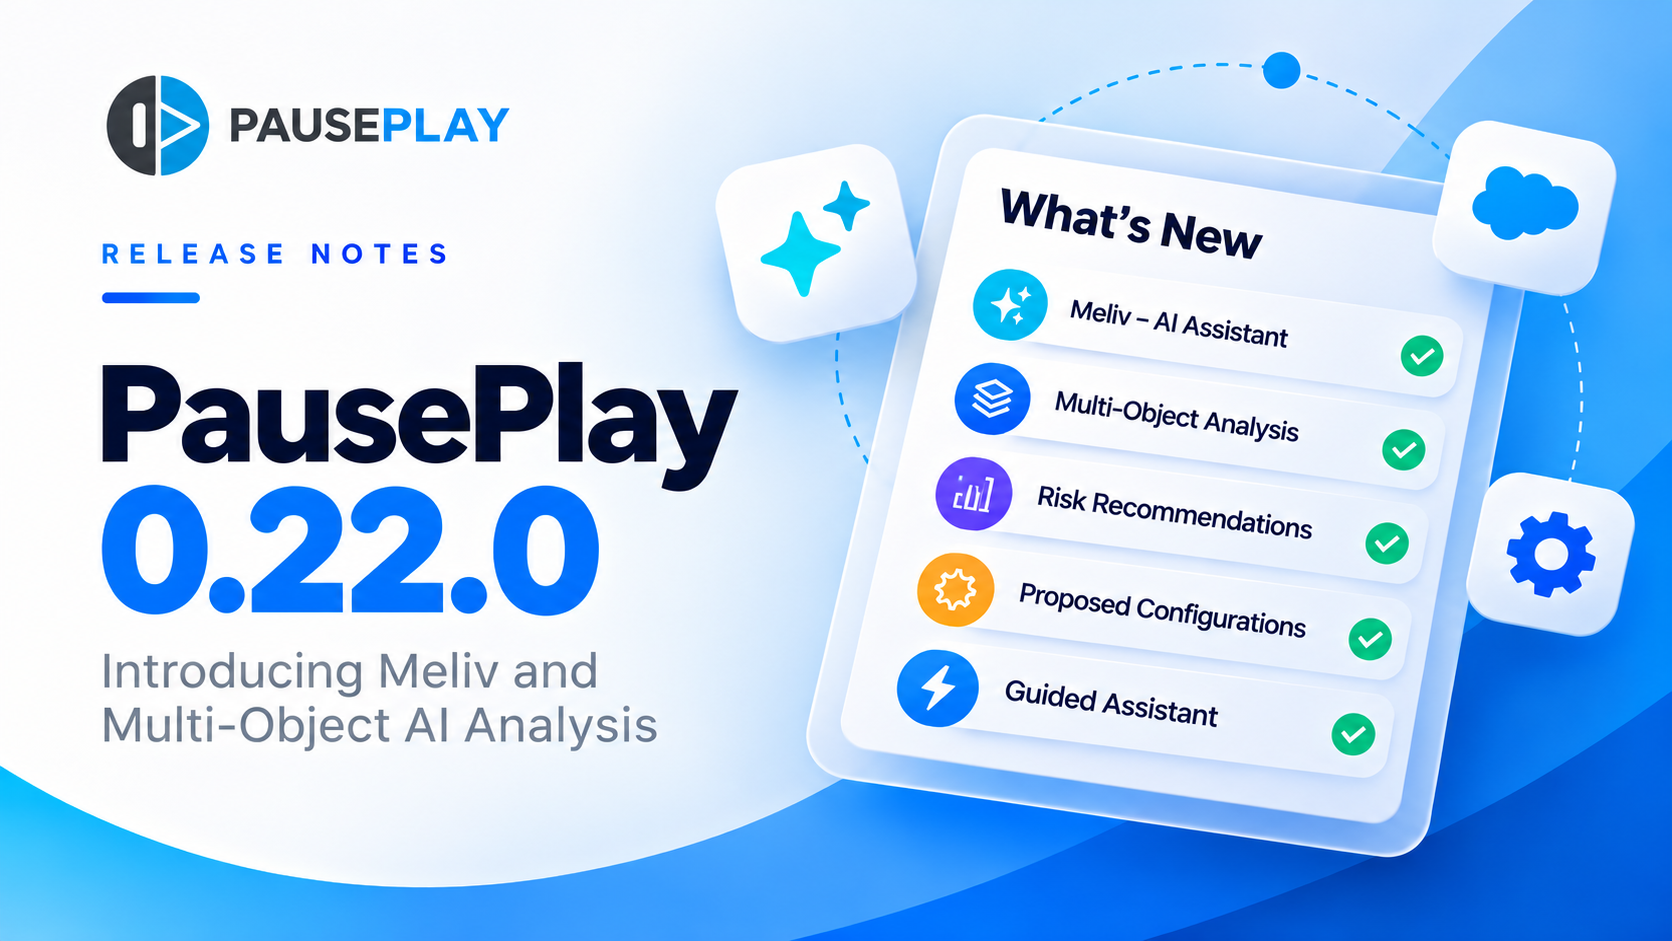
PausePlay 0.22.0-2 Release Notes: Meliv AI
Discover what's new in PausePlay 0.22.0-2: Meliv AI, multi-object Salesforce automation analysis, risk recommendations, and guided configuration creation.